2024-2025
RoomSense
Raspberry Pi Project
Overview
Raspberry Pi
With 7″ Display
Stem Izon
motion detection + Live Feed
BambuLab A1
3D Printer for custom cases and mounts
Onshape · TinkerCAD
CAD modeling for 3D Printed parts
From Problem to Product
A real everyday issue that I turned into a full system.
The Problem
My Room was hard to manage
Keeping my room tidy was a constant struggle. Lights were often left on, clothes often lay around the room, and most importantly, there was no way to know whether or prevent my siblings from entering my room.
The Solution
I built a system to handle it
RoomSense was my solution. It is a custom-built IoT system that automates awarness. It monitors cleanliness and detects motion using gauged pixel comparison, tracks light status using pixel brightness, and provides a password protected live feed, all from one dashboard.
Features
What RoomSense Does
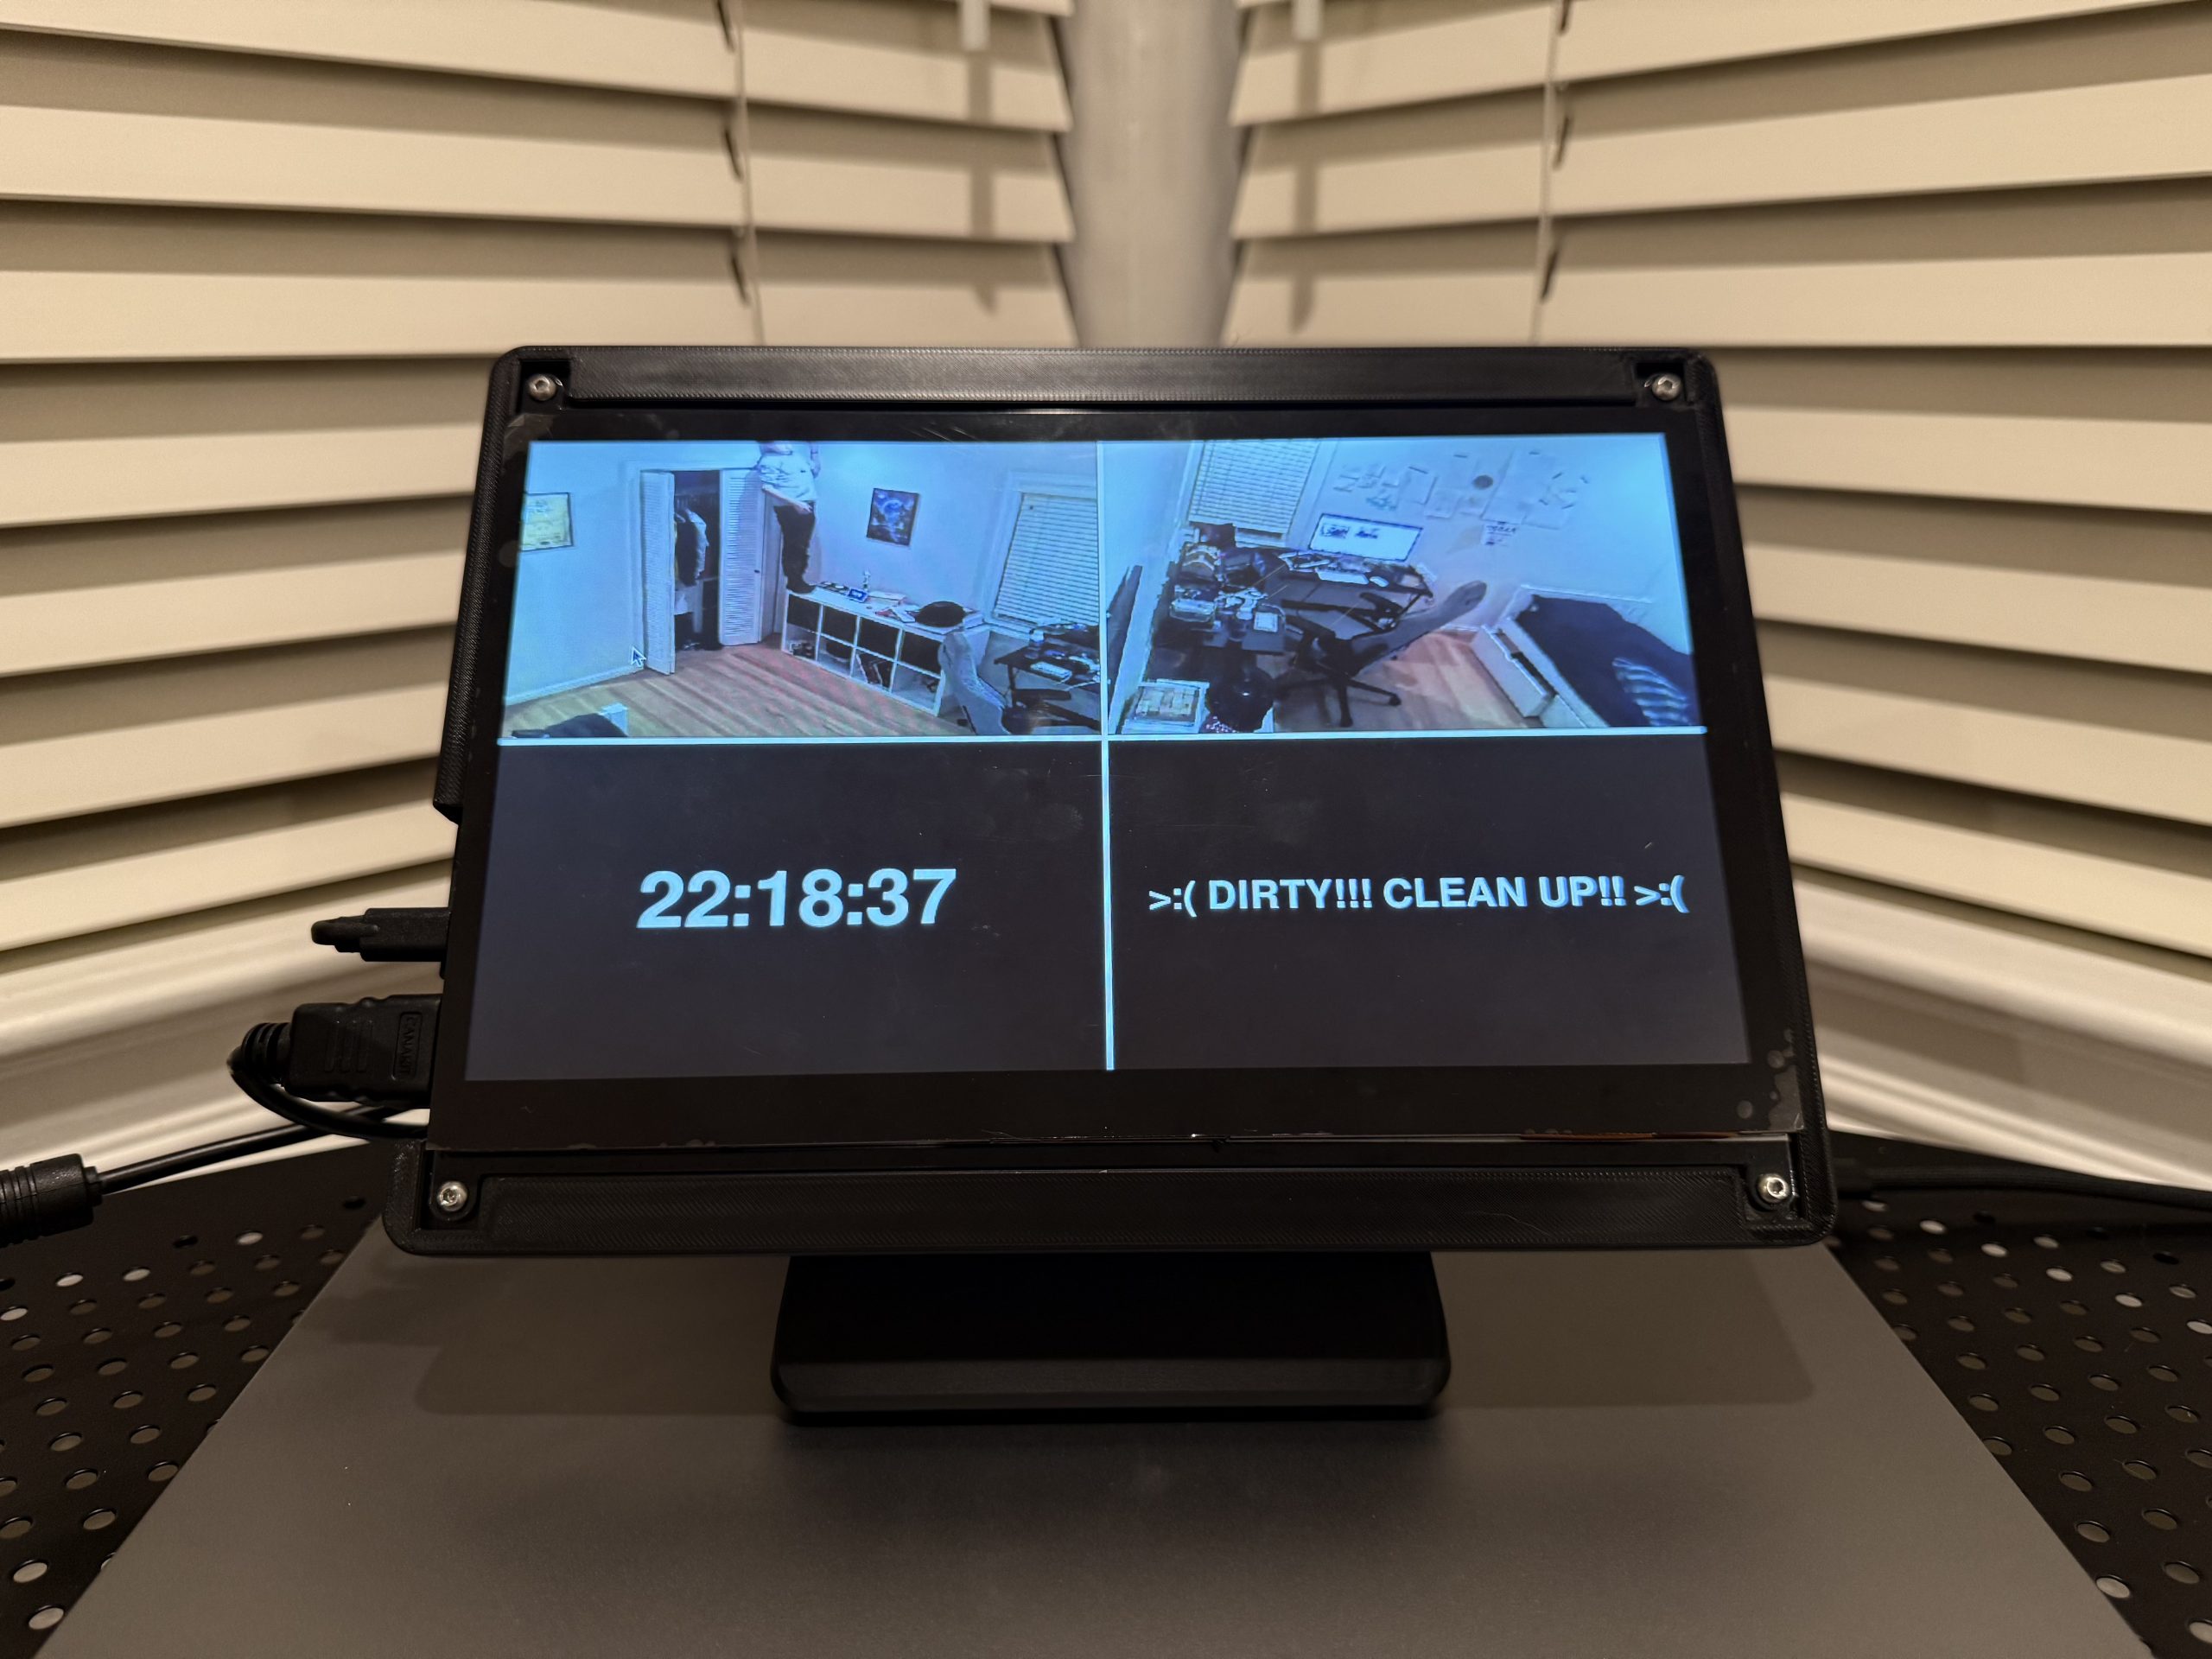
Always-on time display on a 7″ touchscreen mounted in my room.
Checks and reports whether room lights are on or off to avoid wasted energy.
Records and auto-sorts images whenever motion is detected in the room.
Simple comparison code analyses camera images and displays a live cleanliness status on the dashboard.
Real-time feed from Stem Izon cameras, secured behind a password
A fully interactive dashboard. Originally a stretch goal, but successfuly accomplished.
Camera Setup
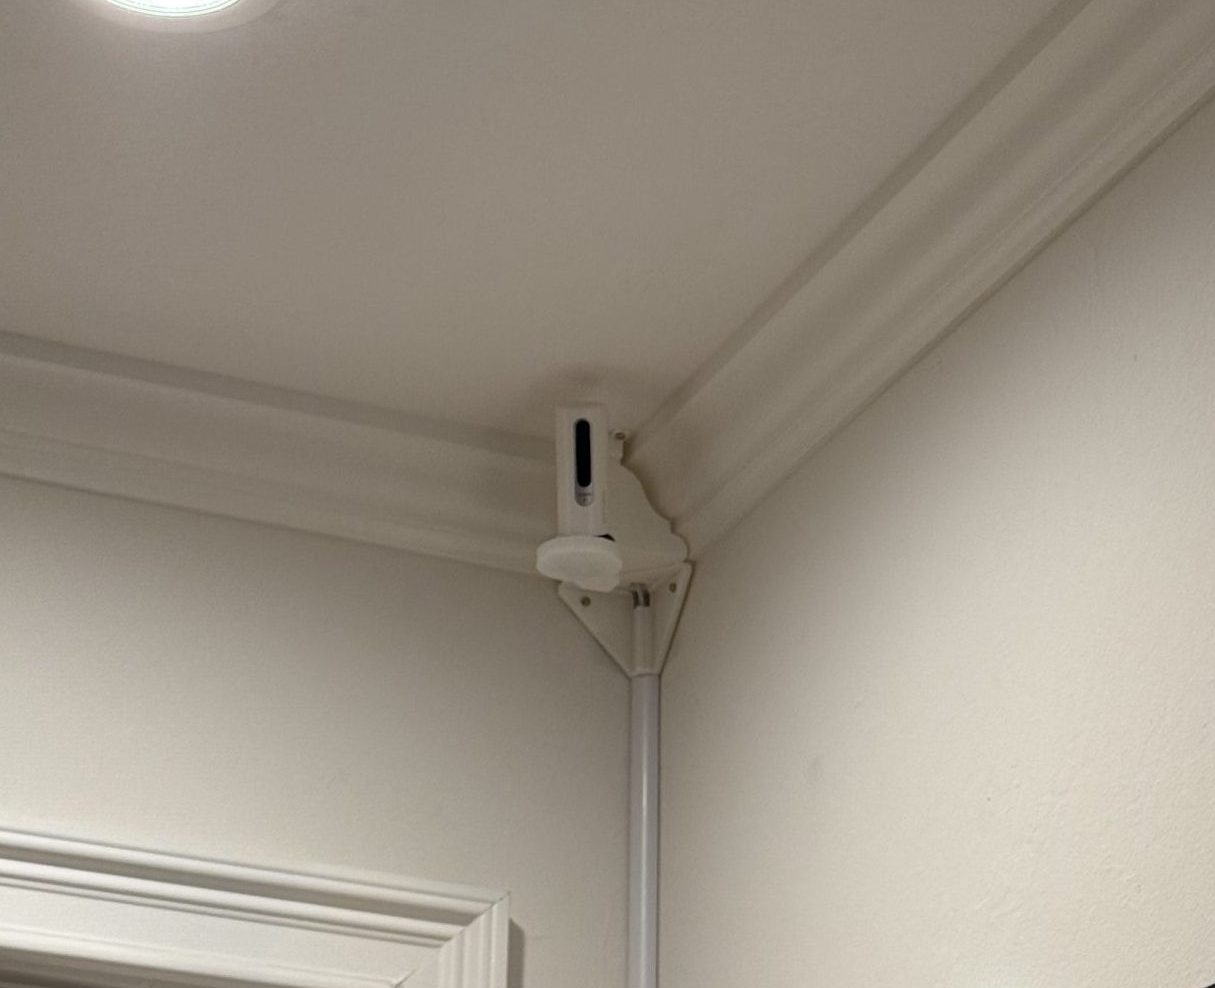
Stem Izon cameras were mounted in room corners using custom 3D-printed brackets, with cable management routed along the walls.

Corner Mount Camera 1
Camera installed in top wall corner, looking diagonally across the room for maximum coverage
Stem Izon
Custom Mount
The 3D-printed brackets holds the Izon camera securely in the corner, with cables routed cleanly
Camer Mount
Camera 2
Second camera mounted in opposite corner of room, allowing for coverage of every last square inch of the room.
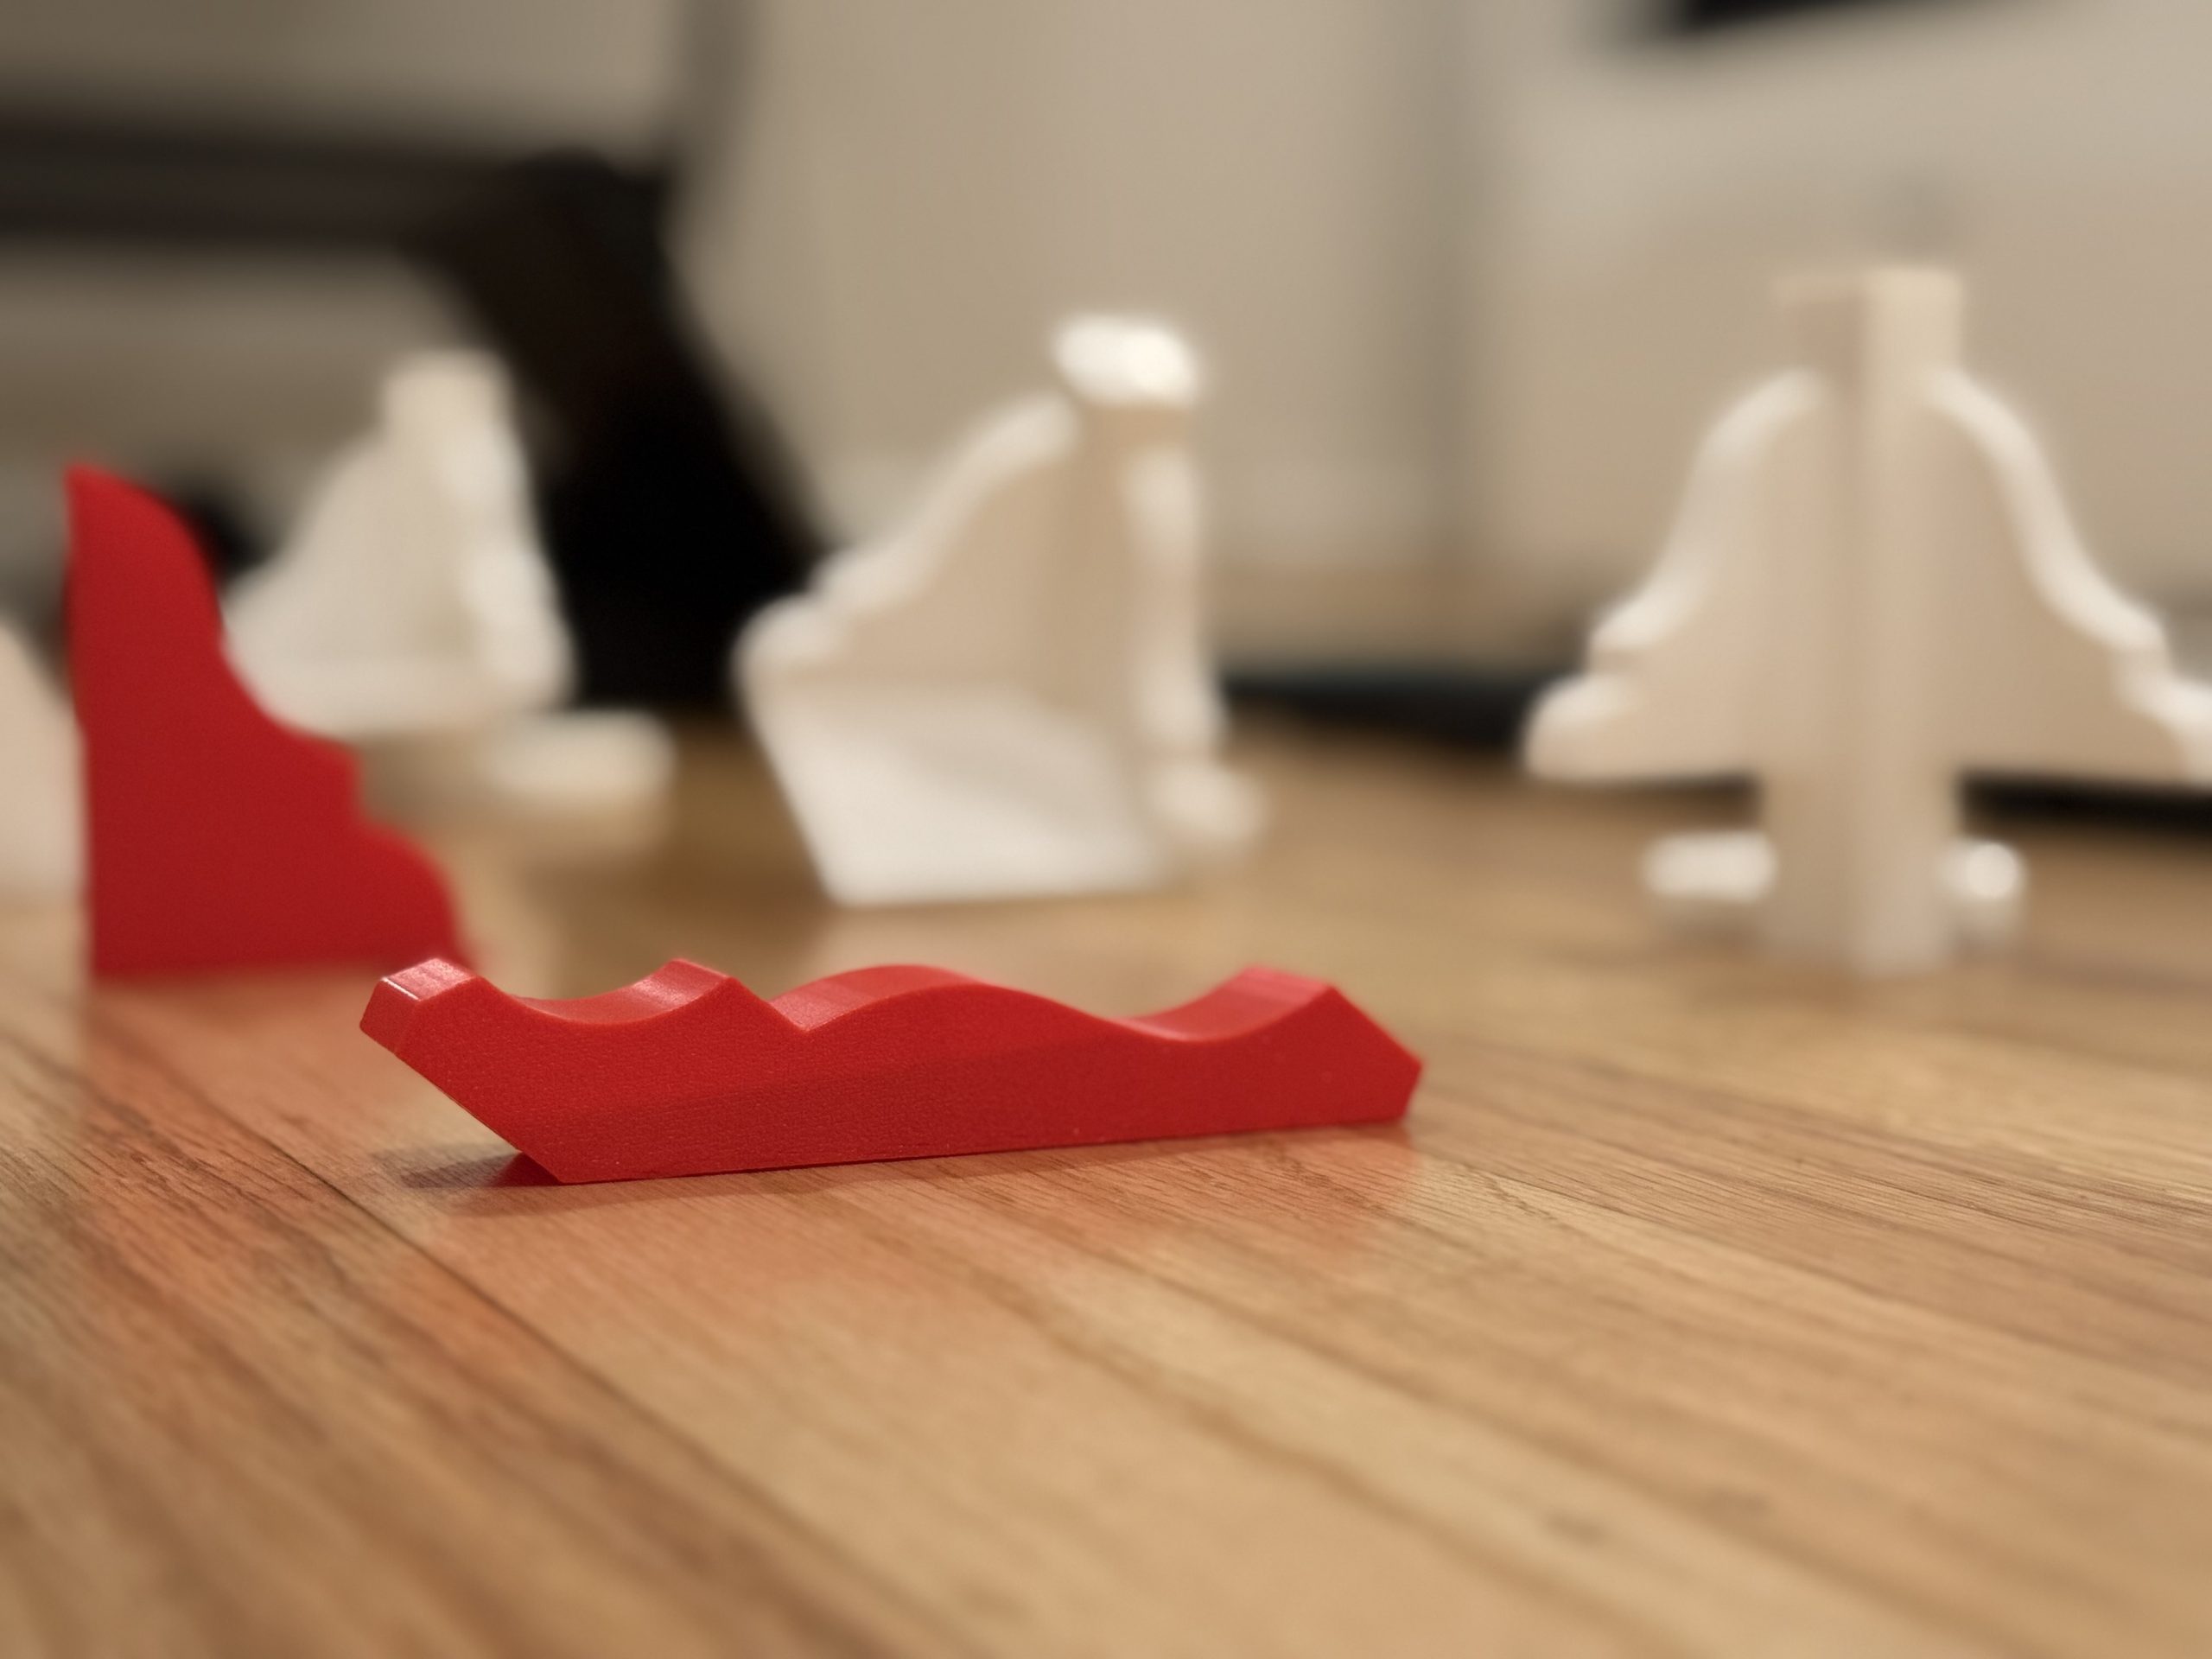
Camera Mount Iterations
I went through multiple iterations of camera mounts, many of the beginning ones due to the unique shape of my room’s moulding.
Printing on BambuLab
I used my BambuLab A1 to print all parts in PLA.
Iterative Prototypes
This project called for high quantities of prototypes, especially screen enclosures, visible here
Final Case CAD
The case and all components were designed in the Onshape CAD software, and were designed to fit all parts exactly.
My Journey
Successes and Setbacks
Getting the first motion-detected image to record and sort correctly was the milestone that proved the core concept worked.
A full touchscreen UI was originally a stretch goal. It was built and shipped — turning the most ambitious extra into a core feature.
Cases that didn’t fit, cameras falling, and tools malfunctioning — including multiple 3D printer failures requiring repair.
The SD card with the OS and all executables was lost twice without backups, forcing a complete rebuild each time.
Software bugs and the challenge of reliably moving code from Mac to Raspberry Pi caused repeated delays.
Looking Back
What I’d Do Differently
My honest refelctions of this project, and what I would do differently in the future.